What HTTP 402 Enables for APIs
For years, HTTP 402 "Payment Required" sat in the standard as a placeholder. The HTTP specification reserved it for future use, but the rise of the agentic web has turned that reservation into a requirement. Unlike human users who navigate subscription dashboards, AI agents operate at machine speed and need a protocol that matches their transactional nature.
The 402 status code provides a standardized way for servers to request payment before delivering data. This shifts API monetization from static subscriptions to pay-per-use models. When an agent calls an endpoint, the server responds with a 402 code containing payment instructions. The agent processes the transaction and retries the request, creating a seamless, automated payment loop.
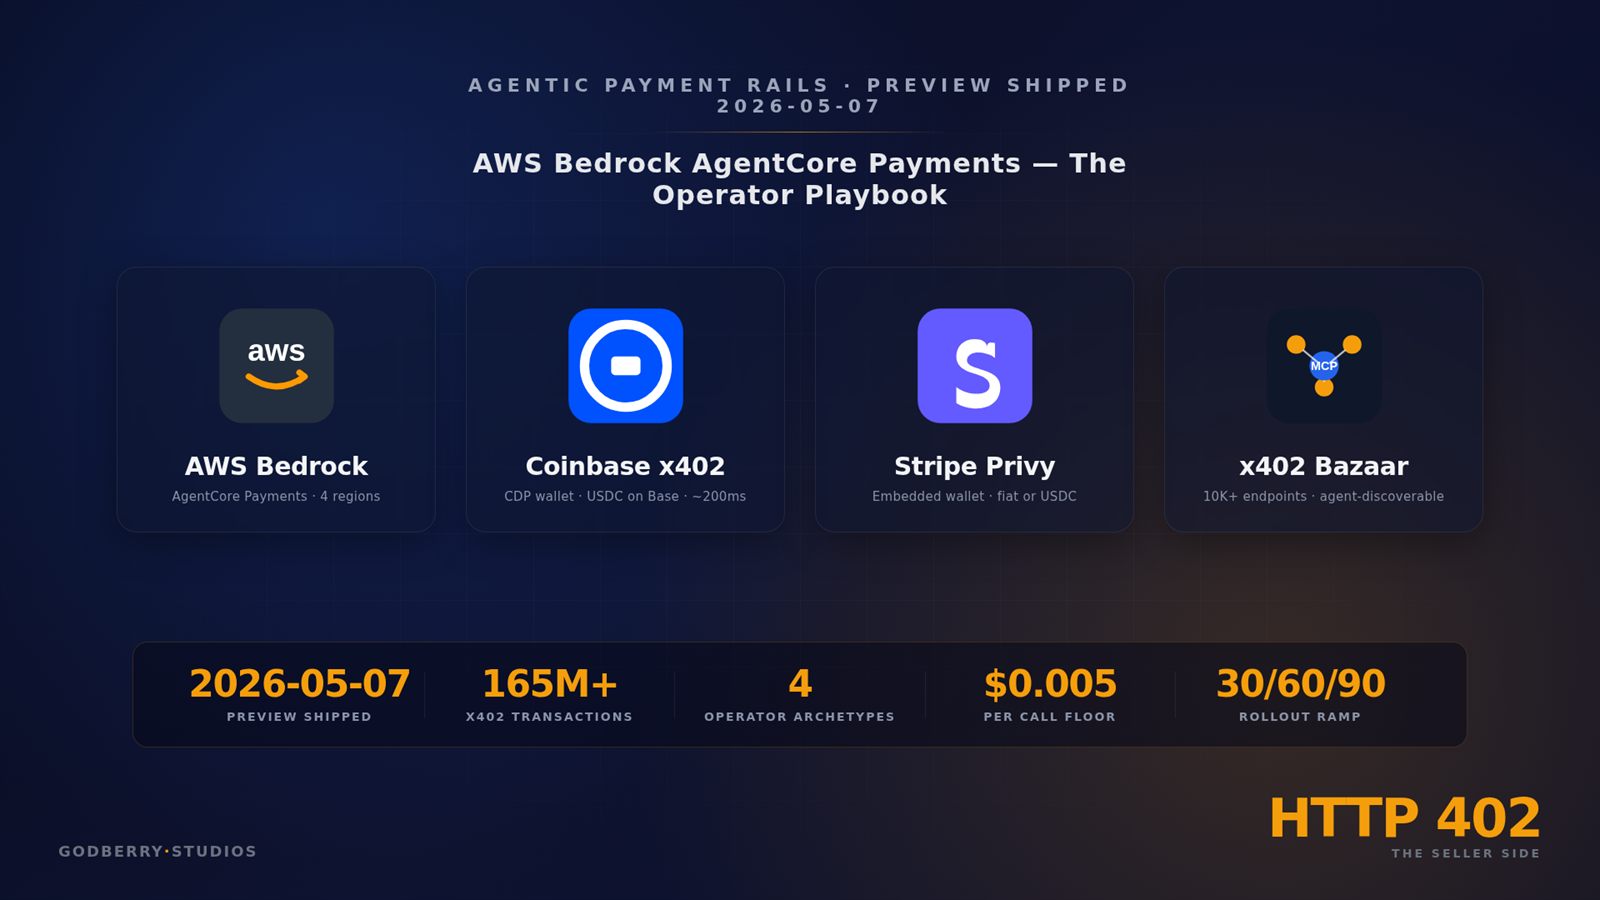
This mechanism is critical for the "agentic web," where autonomous software interacts with other software. It allows for micropayments and granular billing that subscription models cannot support. As noted by Abstract API, this protocol is already being used in Bitcoin Lightning micropayment systems, proving that the infrastructure is ready for production.
By adopting this standard, developers can build payment infrastructure that scales with usage. It removes the friction of manual billing and enables new business models where every API call is a billable event.
Set Up an x402 Payment Endpoint
Integrating x402 into your API turns your endpoints into autonomous payment gateways. Instead of managing credit cards or subscription keys, your API accepts cryptocurrency payments directly through the HTTP 402 status code. This allows AI agents to pay for data, compute, or access without human intervention.
You have two main paths: using a paywall-as-a-service for speed or building a custom implementation for control. Both rely on the same core principle—your server validates a crypto payment before returning the requested data.
Choose Your Integration Path
Paywall-as-a-Service (Fastest Route)
If you want to monetize quickly without rewriting your codebase, a paywall service is the most efficient option. Platforms like Xpay allow you to register your existing endpoint, set a price, and generate a new x402-compatible URL. The service handles the payment validation, so your original API logic remains untouched. You simply redirect traffic to the new URL. This approach is ideal for testing the market or launching a simple pay-per-call model in minutes.
Custom Implementation (Full Control)
For developers who need granular control over the payment flow, building a custom middleware is the way to go. This involves intercepting API requests, checking for a valid crypto transaction, and granting access only upon confirmation. You will need to handle wallet generation, transaction monitoring, and error responses (402) manually. This path is more complex but offers flexibility for complex pricing models or private networks.
Step-by-Step Integration
Whether you choose a service or custom code, the integration workflow follows a consistent pattern. Below is the standard process for setting up a functional x402 endpoint.
Before writing code, determine how you will charge. Will you charge per call, per megabyte of data, or per minute of compute? Define the specific API endpoint that will be gated. For custom implementations, you need a way to generate a unique payment address or transaction ID for each request. For paywall services, you simply input your base URL and set the price.
Your server must be able to verify that a payment has been made. If you are using a custom middleware, you need to listen for incoming requests and check the blockchain for a corresponding transaction. The transaction must match the required amount and the specific endpoint address. If no valid payment is found, the server should respond with a 402 status code, signaling that payment is required.
A 402 response is not just an error; it is a payment instruction. The response body should contain clear instructions on how to pay. This includes the recipient wallet address, the exact amount in cryptocurrency, and any necessary transaction metadata. For AI agents, this structured data is critical for automated payment bots to understand what is owed and where to send it.
Never deploy an x402 endpoint without testing. Use a demo wallet or a testnet to simulate a payment. Send a small amount of cryptocurrency to your endpoint and verify that the server correctly identifies the transaction and returns the data. Check edge cases, such as underpayments or expired transactions, to ensure your validation logic is robust.
Once testing is complete, deploy your endpoint. If you used a paywall service, simply share the new URL. If you built a custom solution, ensure your monitoring tools are tracking payment successes and failures. Keep an eye on transaction confirmations, as blockchain latency can sometimes delay access for users or agents.
Key Considerations for Agentic Payments
When setting up your endpoint, remember that AI agents are automated. They cannot click "Pay Now" on a webpage. Your 402 response must be machine-readable. Include the payment details in a structured format like JSON so that agents can parse the instructions and execute the payment automatically. This seamless interaction is what makes x402 powerful for the agentic economy.
Choose the Right Crypto for Settlement
Selecting the right blockchain for your Pay-Per-API 402 implementation is a balancing act between transaction speed, cost, and agent compatibility. For agentic workflows, where machines execute thousands of micro-transactions autonomously, high gas fees or slow finality can break the business model. You need a chain that handles micropayments without draining your margin or introducing latency that frustrates users.
Bitcoin’s Lightning Network remains the gold standard for this specific use case. Because it operates as a layer-2 solution, it offers near-instant settlement and negligible fees, making it ideal for the HTTP 402 protocol which expects quick, atomic payments. Other networks like Ethereum or Solana can work, but you must account for their distinct fee structures and finality times. Below is a comparison to help you weigh your options.
| Chain | Avg. Fee | Finality | Agent Fit |
|---|---|---|---|
| Bitcoin (Lightning) | ~$0.001 | Seconds | High |
| Ethereum (L2) | $0.01 - $0.10 | Minutes | Medium |
| Solana | ~$0.00025 | Seconds | Medium |
| Polygon | ~$0.001 | Seconds | Medium |
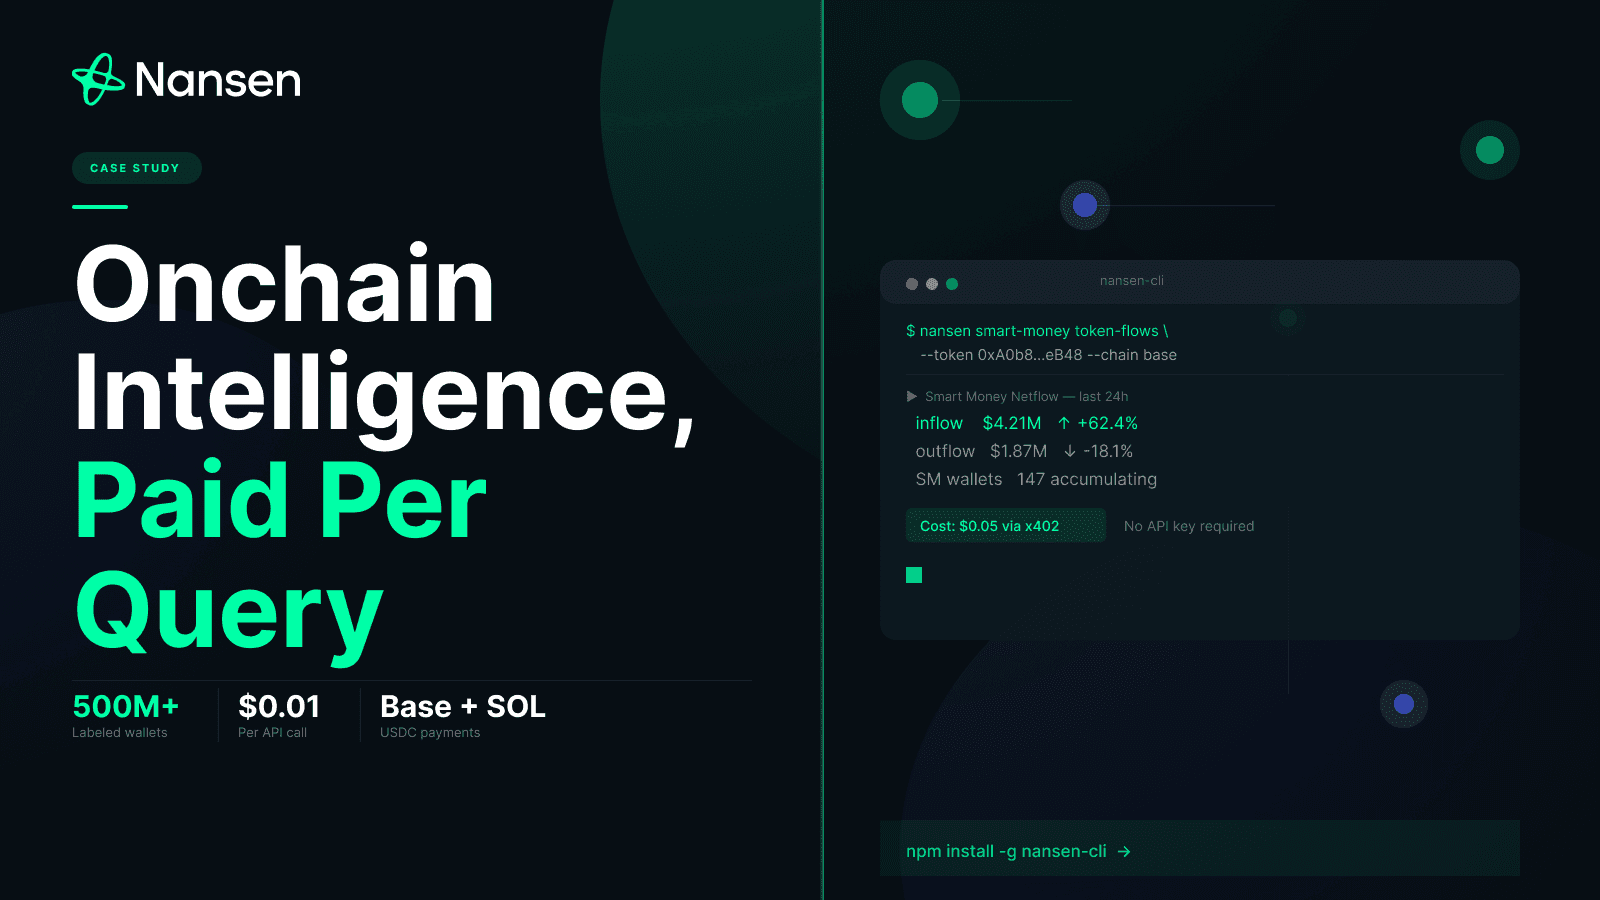
Bitcoin Lightning is the most mature option for x402 payments, with native support from libraries like Nansen’s implementation. It requires no API keys for the payer, simplifying the user experience. However, liquidity management can be complex for the provider. Layer-2 Ethereum solutions offer better smart contract capabilities for escrow or multi-party channels, but they introduce more complexity in gas estimation. Solana and Polygon offer low fees but may require additional infrastructure to handle the volume of small transactions reliably.


As an Amazon Associate, we may earn from qualifying purchases.
For developers building the backend, consider using a node service that supports your chosen chain. If you start with Bitcoin Lightning, ensure your node has sufficient liquidity to accept incoming payments. For Ethereum L2s, verify that your gas estimation logic is robust to avoid failed transactions. The goal is to make the payment invisible to the user—fast enough that they don’t notice it, and cheap enough that it doesn’t matter.
Handle Payment Failures and Quotas
Even with a robust Pay-Per-API 402 implementation, edge cases will occur. Your agentic infrastructure must gracefully handle insufficient funds, expired transactions, and rate limits to maintain reliability. Treat these failures not as errors to ignore, but as signals to adjust your agent’s behavior or notify the user.
Manage Insufficient Funds and Billing Loops
When an agent triggers a 402 error due to insufficient funds, immediate retry loops are counterproductive. They waste compute resources and can trigger fraud detection systems. Instead, implement a "soft fail" state. The agent should pause the specific task requiring payment and return a structured error to the orchestrator.
The orchestrator then determines the next best action: notify the user of the balance issue, suggest a cheaper alternative endpoint, or queue the request for later. For example, if a Hugging Face inference call fails with a 402 quota exceeded error, the system should log the event and alert the user rather than spamming the API. This prevents resource exhaustion and keeps your billing costs predictable.
Handle Rate Limits and Quotas
Rate limiting is the most common cause of API interruptions. Different providers enforce limits differently—some by request per second, others by monthly token volume. Your integration should always check the Retry-After header included in the 402 or 429 response. If present, respect the indicated wait time before retrying.
For long-running agentic workflows, implement exponential backoff with jitter. This spreads out retry attempts from multiple agents, preventing thundering herds that overwhelm your provider’s servers. If the limit is a hard monthly cap (like many Hugging Face or Microsoft API tiers), you must integrate a quota management layer that tracks usage in real-time and pauses non-critical tasks when thresholds are reached.
Verify and Recover from Failed Transactions
Payment failures can also stem from expired tokens or invalid credentials. Always validate payment methods before initiating high-value agent tasks. If a transaction fails, do not immediately charge the user again. Instead, trigger a verification step to ensure the payment method is still valid.
Use idempotency keys for all payment-related API calls. This ensures that if a network timeout occurs between your server and the payment provider, you don’t accidentally charge the user twice. Log every 402 error with its context (agent ID, task type, amount) to help debug billing discrepancies later.
Calculate Fair Pricing for API Calls
Setting a price for agentic access requires balancing your infrastructure costs against the volume expectations of autonomous agents. Unlike human users who browse occasionally, agents may trigger thousands of requests per second. Your pricing model must cover these costs without breaking the agent's budget or your margins.
Start by calculating your direct costs. This includes server compute time, database reads, and network egress. If you are using an AI model, add the token cost per inference. Your minimum price must exceed this sum to avoid losing money on every call. Next, add a margin for reliability and support. A common starting point is 20-30% above your direct cost, but adjust this based on your target profit.
Consider the value the agent receives. If your API enables an agent to complete a high-value task, such as booking a flight or processing a complex financial transaction, you can charge more. However, keep the price predictable. Agents operate on strict budgets; unpredictable fees can cause them to fail or switch providers.
Test your pricing with mock agents before launch. Use tools like x402 to simulate payments and verify that your endpoints reject unpaid requests correctly. This ensures your billing logic works under load. A clear, fair price helps agents integrate your service quickly and keeps your revenue stream stable.
-
Verify gas and compute costs are fully accounted for
-
Set minimum and maximum price thresholds
-
Test payment flow with mock agents
-
Confirm 402 rejection logic works under load
For more details on setting up pay-per-use billing, see the x402 paywall documentation.
No comments yet. Be the first to share your thoughts!